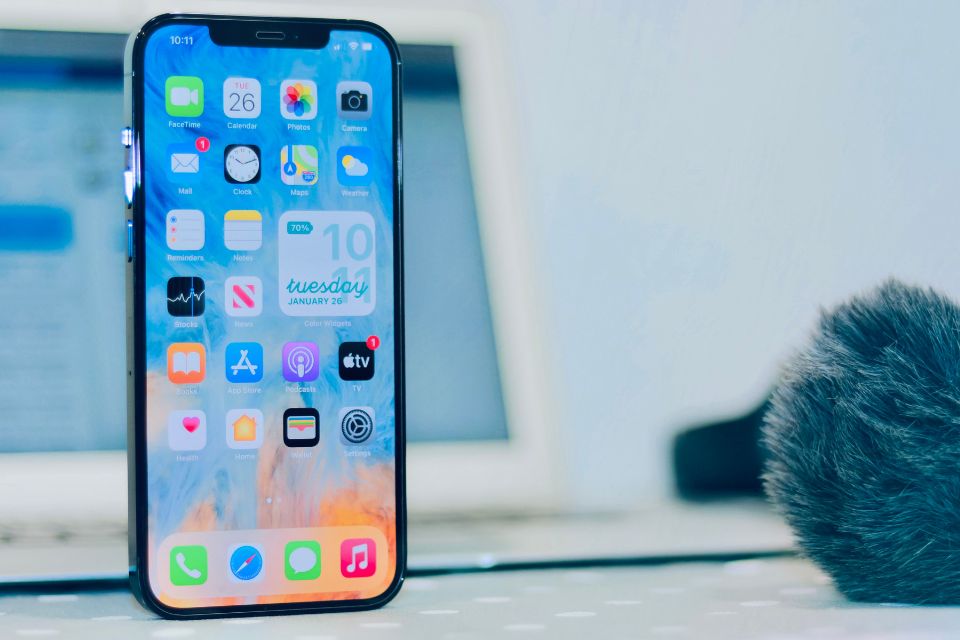
iPhone Camera Tricks: Smartphone cameras have come a long way in recent years, and the iPhone is no exception. With each new model, the camera capabilities improve, making it a popular choice for professional photographers.
But even with the latest iPhone, there are still some tricks and techniques that can take your photography to the next level. In this article, we’ll explore 10 essential iPhone camera tricks for professional photographers.
1. Use the Grid for Better Composition
One of the most basic but essential tricks for any photographer is to use the grid feature on your iPhone camera. This will help you compose your shots using the rule of thirds, which is a fundamental principle of photography.
To enable the grid, go to Settings > Camera > Grid and toggle it on. This will add a grid overlay to your camera screen, making it easier to align your subjects and create a more balanced composition.
2. Experiment with Different Camera Modes
The iPhone camera app offers several different modes, including Portrait, Pano, and Time-Lapse. Each mode is designed for a specific type of photography, so it’s worth experimenting with them to see which ones work best for your style.
For example, the Portrait mode is great for capturing professional-looking portraits with a blurred background, while the Pano mode is perfect for capturing sweeping landscapes.
3. Use Burst Mode for Action Shots
Burst mode is a handy feature for capturing fast-moving subjects, such as sports or wildlife photography. To use it, simply hold down the shutter button, and your iPhone will take a series of photos in quick succession.
Afterward, you can review the burst of photos and select the best ones to keep. This is especially useful for capturing the perfect moment in fast-paced situations.
4. Adjust Exposure and Focus Manually
While the iPhone camera does a great job of automatically adjusting exposure and focus, sometimes you may want more control over these settings. To do this, simply tap and hold on the screen to lock the focus and exposure.
You can then slide your finger up or down to adjust the exposure, or tap on a different area of the screen to change the focus point. This is particularly useful for tricky lighting situations or when you want to create a specific depth of field.
5. Use the Volume Buttons as a Shutter

If you’re struggling to keep your iPhone steady while taking a photo, you can use the volume buttons as a shutter instead of tapping the screen. This can help reduce camera shake and result in sharper images.
To enable this feature, go to Settings > Camera > Use Volume Up for Burst and toggle it on. This will allow you to use the volume up button as a shutter when taking photos in burst mode.
6. Experiment with Different Lenses
If you have an iPhone with multiple lenses, such as the iPhone 11 Pro, be sure to experiment with each one to see how they affect your photos. The wide-angle lens is great for capturing landscapes and architecture, while the telephoto lens is perfect for portraits and close-up shots.
7. Use Third-Party Camera Apps
While the native iPhone camera app is excellent, there are also many third-party camera apps available that offer more advanced features and controls. Some popular options include ProCamera, Halide, and Camera+ 2.
These apps allow you to adjust settings like ISO, shutter speed, and white balance, giving you more control over your photos. They also offer features like manual focus, RAW capture, and advanced editing tools.
8. Take Advantage of Portrait Lighting

If you’re using an iPhone with Portrait mode, you can take advantage of the Portrait Lighting feature to add studio-quality lighting effects to your photos. This feature allows you to choose from different lighting options, such as Natural Light, Studio Light, and Contour Light, to enhance your portraits.
To access Portrait Lighting, open the Camera app and select Portrait mode. Then, tap on the lighting icon at the top of the screen to choose your desired effect.
9. Use the Self-Timer for Group Photos
Trying to take a group photo with your iPhone can be challenging, especially if you’re also trying to be in the photo. Instead of trying to press the shutter button while also posing for the photo, use the self-timer feature.
To use the self-timer, open the Camera app and select the timer icon at the top of the screen. You can then choose a delay of 3 or 10 seconds, giving you enough time to get into position before the photo is taken.
10. Edit Your Photos with Built-In Tools

The iPhone camera app also offers built-in editing tools that allow you to enhance your photos without needing to use a separate app. These tools include cropping, filters, and adjustments for exposure, contrast, and saturation.
To access these tools, open the Photos app and select the photo you want to edit. Then, tap on the Edit button at the top of the screen to access the editing tools.
Conclusion
With these 10 essential iPhone camera tricks, you can take your photography to the next level and capture professional-quality photos with your iPhone. Whether you’re a beginner or a seasoned pro, these tips and techniques will help you get the most out of your iPhone camera and create stunning images.